Is a 3 Zone Mini Split the Sweet Spot for DIY Installs?
Thinking about installing a 3 zone mini split on your own? If you’re diving into a multi zone DIY install for your home, you’re not alone. Many homeowners are attracted to the idea of handling their HVAC upgrades themselves—whether to save money, maintain control over the project's timeline, or simply for the satisfaction of a well-executed homeowner installation. But where exactly is the sweet spot between what’s truly do-it-yourself and what’s just a “not-really-DIY” project masked in complexity?
Having spent nearly a decade covering the intersection of home renovation and mechanical systems, especially focusing on how these systems impact the aesthetics and daily experience of your living space, I’ve seen firsthand that the answer is nuanced. Today, we’ll dissect that sweet spot—why a 3 zone mini split is often the ideal balance for DIYers—and what you need to be wary of in terms of aesthetics, system design, and installation risks.
True DIY vs. Not-Really-DIY Mini Splits
There’s a vast difference between a genuinely DIY-friendly mini split system and those that require licensed HVAC technicians despite claims to the contrary.
Companies like MRCOOL have introduced systems with Quick connect fittings that allow handy homeowners to bypass traditional evacuation and refrigerant charging steps—far from trivial tasks for most DIYers. This technology arguably lowers the barrier to entry to a true DIY mini split. MRCOOL’s products, for example, can be installed by a homeowner who is comfortable handling tools and electrical work (with proper permits and code compliance).
However, this doesn’t mean every multi-zone project with any brand is DIY-friendly. Even reputable names like Zone Air and Pioneer have their products that range from straightforward to complex installations. Zone Air’s Build Your Own tool is a fantastic way to map out a custom multi-zone layout, letting you pre-plan line sets, condenser placement, and air handlers, but whether the actual installation stays within the "true DIY" realm depends heavily on:
- Your comfort with electrical wiring and permits
- Handling refrigerant lines (bending, flare fittings, leak checking)
- Local code requirements about licensed handling
For that reason, I always caution friends using the Zone Air Build Your Own tool that even though it helps you visualize a tailored setup, certain steps may need professional assistance to ensure safety and compliance.
Aesthetics and Placement as Decor Decisions
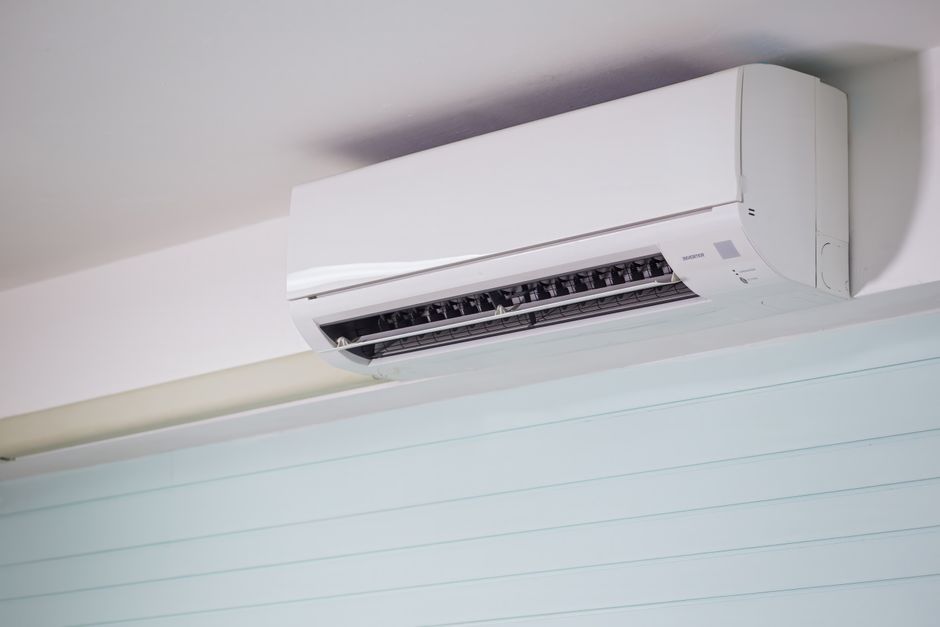
Let’s pivot from the technical to the visual. Mini splits are no longer the clunky white boxes of the past—they’re increasingly sleek, and the placement of your air handlers becomes a significant design decision.
When considering a 3 zone mini split setup, the fact that you have multiple smaller air handlers distributed strategically across rooms means you’re weighing multiple decor decisions rather than a single bulky HVAC piece. Here’s where I always recommend a simple trick: create cardboard cutouts approximating the head units’ dimensions and tape them on the walls where you plan to install. This helps you understand:
- How the units interact with your original trim or plaster walls
- The sight lines from your main seating areas, kitchen, or gallery walls (yes, those “things that ruin a gallery wall” like clamps, wiring, and shadows)
- Whether they’ll be a distraction or blend seamlessly with the room’s style
Also, don’t forget to step outside and look at the condenser’s future home from the patio or yard. The neatness of the line set runs and the size and location of the condenser impact curb appeal and outdoor aesthetics. With a 3 zone system, line hide options become a little less overwhelming compared to a 4- or 5-zone, which often have multiple lines spiraling like knockoffdecor.com spaghetti out of your walls.
Line Set Strategy and Leak Risk
The positioning and coiling of refrigerant line sets is often glossed over in DIY advice but is a significant factor, not just for long-term functionality but also for maintainability.
Multi-zone installs typically mean longer, sometimes more convoluted line runs. A 3 zone mini split is often the sweet spot because it balances system complexity without overly long line sets that increase:

- Leak potential at couplers or benders
- Cooling capacity losses due to line length
- Removal and replacement difficulties
When DIYing, I can’t stress enough the importance of properly coiling and securing any extra line set length outside the condenser unit. Coils should fit comfortably within the manufacturer’s recommendations—not too tight or kinked, but also not loose hanging spaghetti. That’s where the idea of a “not-really-DIY” often bites: poorly managed line sets lead to slow leaks that become headaches down the road.
Fortunately, brands like Pioneer provide clear installation kits and guidelines, and the Zone Air Build Your Own tool even factors in line lengths for component matching. These help pre-empt issues but don’t replace quality workmanship in coiling and sealing line sets. Note also that code sometimes mandates line set insulation or placement away from UV exposure.
Mixing Air Handler Types on One Condenser
A lesser discussed but important consideration is whether your multi-zone system allows for mixing different air handler types on a single condenser. This flexibility can make the difference between a rigid, less comfortable layout and a system that perfectly suits your home’s varied spaces.
Brands like MRCOOL and Zone Air offer models and systems that support blending wall-mounted heads with ceiling cassettes or ducted concealed units under one outdoor unit. This versatility allows for targeting rooms with differing aesthetic or acoustic needs, such as:
- Wall-mounted units in living areas where decor is paramount
- Ceiling cassettes or floor-mounted units in bedrooms or basements with less wall space
- Ducted mini splits for spaces with historic plaster walls or intricate trim where visible heads would be an eyesore
However, mixing types requires careful attention to capacity matching and zone control logic. Not every system handles this gracefully, and it tends to be easier with 3 zones than more complex arrangements. It’s also crucial to check that your chosen system’s wiring harness and controls support the mix without confusion.
Why the 3 Zone Mini Split Often is the Sweet Spot
Aspect 1-2 Zones 3 Zones 4+ Zones DIY Manageability High - simpler wiring & line sets Moderate - manageable complexity with planning Lower - complexity often requires pro tools & skills Aesthetic Flexibility Limited placement options Good balance & decor integration opportunities Challenging to maintain clean visuals and wire routing Line Set Complexity & Leak Risk Minimal length & coupler needs Line sets manageable with caution Long runs & multiple couplers increase failure risk System Mixing Capability Limited need to mix air handler types Supports mixing wall and ceiling units better Potential control & compatibility issuesIn summary, a 3 zone mini split install walks the line between affordability, performance, and the scope of true DIY execution better than other arrangements. It’s enough zones to flexibly condition an entire small-to-medium home, yet restricted enough in complexity that nitty-gritty line set management and mixing air handler types remain feasible for a capable DIYer.
Final Tips for DIY Homeowner Installation
- Use the Zone Air Build Your Own Tool: Map your ideal layout upfront. This saves headaches with unexpected line set lengths and awkward head placements.
- Embrace Quick Connect Fittings: If your chosen brand supports them (MRCOOL is a leader here), these connectors simplify refrigerant line work drastically.
- Test Placement Visually: Cut cardboard templates matching air handler size and tape to walls. Check from various angles and outdoor sight lines.
- Respect Electrical and Plumbing Codes: No matter how DIY-friendly your system is, permits and inspections may be required—always double-check local laws.
- Trail Your Line Sets Thoughtfully: Avoid sharp bends, excessive line lengths, and ensure robust insulation.
- Prepare for Service Access: Don’t hide line sets or condensers where technicians can’t get in later.
By following these guidelines, you’ll maximize your chances of a successful DIY multi zone install that's both visually pleasing and mechanically sound. A 3 zone mini split can be the perfect sweet spot for a confident, careful homeowner installation.
Happy installing!